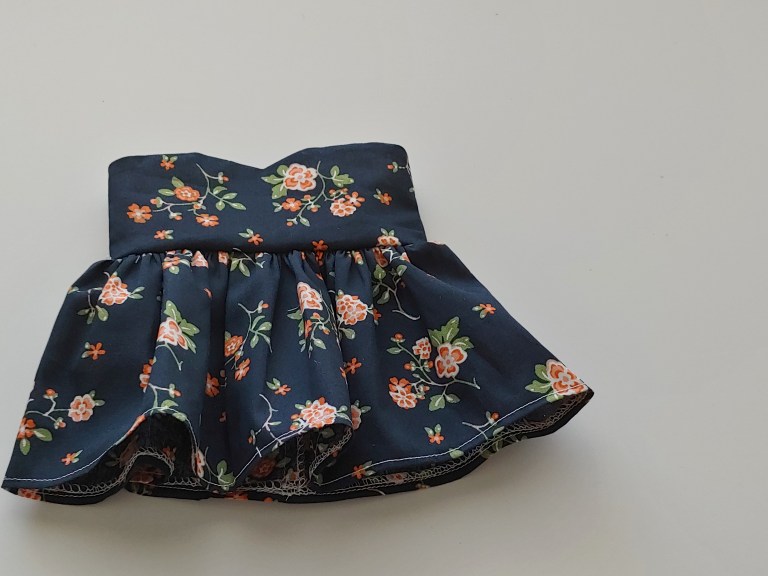
How to Sew Sweetheart Dress for your American Girl Dolls – Free Sewing Pattern


A sweetheart dress is one of the cutest styles I’ve done on American Girl Dolls and they look perfect on them every time. I’ve tried sewing them in solid colors, denim and shiny satin but my favorite so far is using floral cotton fabric. And to elevate the style even further, I decided to pair it with a lace tank top.
In this tutorial, I used a 1/4 yard of cotton fabric plus a tiny piece of lining material and lace fabric for the tank top.
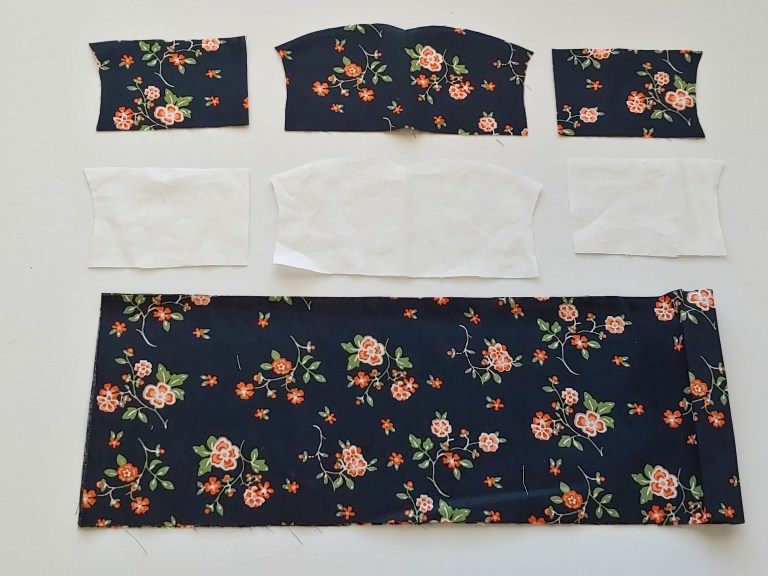
- Cut the main fabric and lining pieces using our sweetheart dress pattern. You can download the sweetheart dress pattern here.
Sweetheart Dress Pattern for 18 inch Dolls
Lace Tank Pattern for 18 inch Dolls
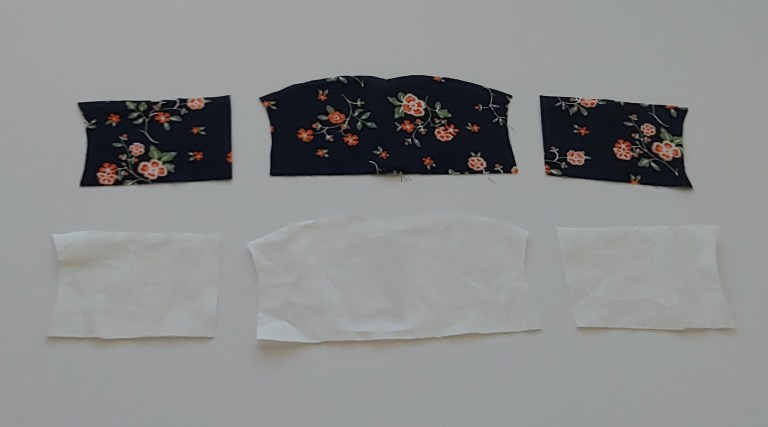
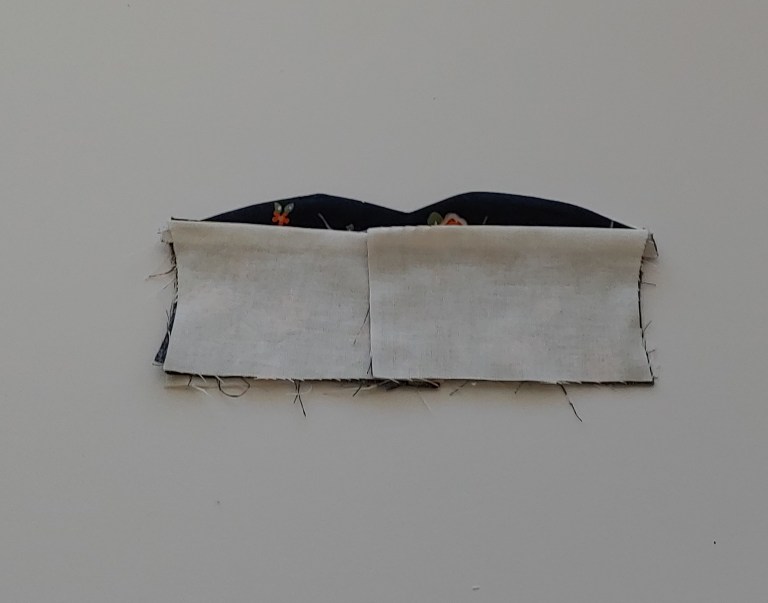
 2. With right sides together, sew the main fabric and lining pieces together.

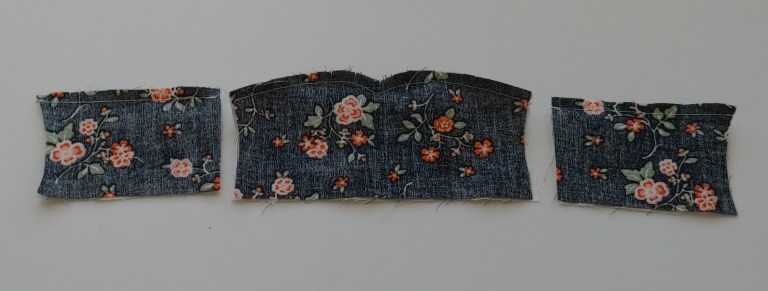
3. Turn the fabric to the right side and iron to flat it out. It’s also best to clip curves on the seam before turning it to release tension and reduce bulk.
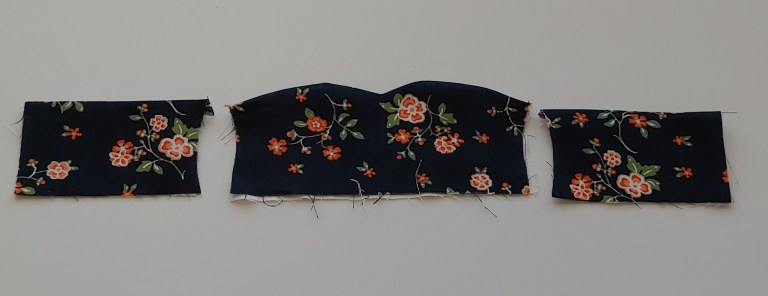
4. With right sides together, sew the front bodice and back bodice together. Serge or zigzag the side seams for a cleaner look.

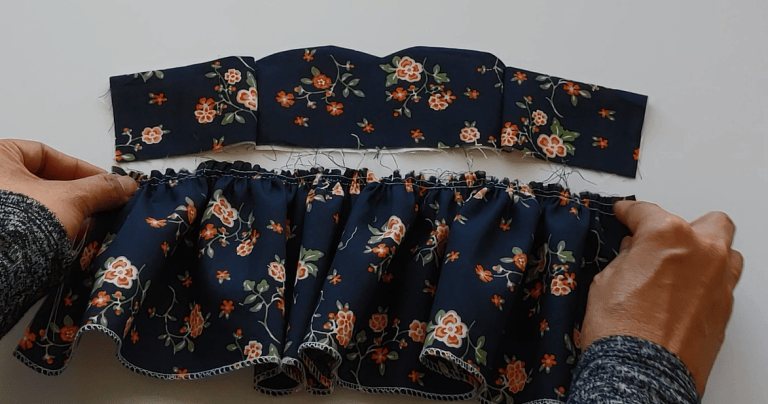
5) Next, work on the skirt part of the skirt. Set your machine to the longest stitch and sew two rows of parallel lines on the top part of the skirt. Gather the fabric by pulling the stitch until the fabric piece is the same width as the bodice, making sure to even out the gathers.
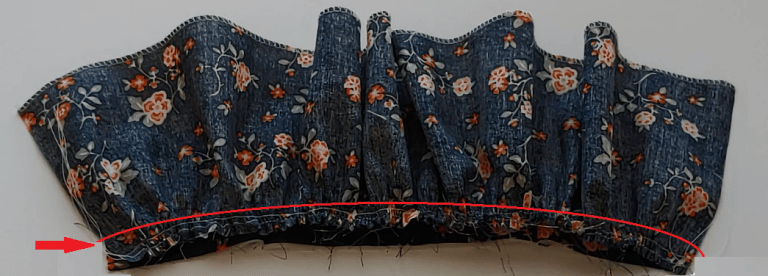 6) With right sides together, sew the bodice and skirt part together at 3/8 inch seam allowance to cover the gathered stitches. Serge or zigzag the seam for a clean look.
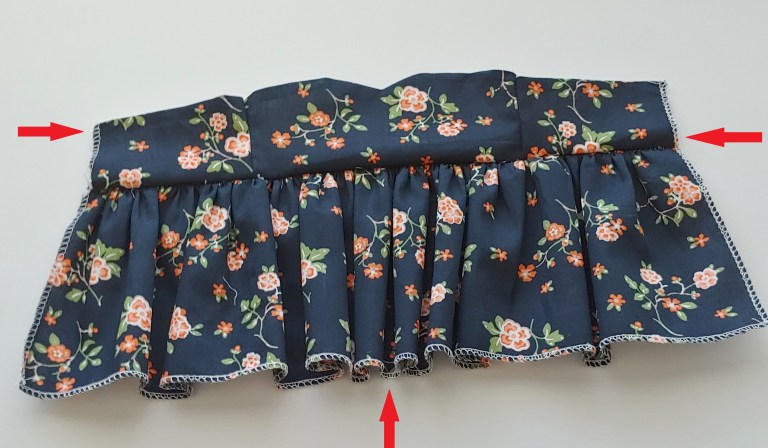
7) At this point, the dress is almost done. Serge or zigzag the skirt and back part of the dress.

8) Sew the back seam starting at about 1/2 inch below the waistline.

9) Cut a 1 inch thick velcro in half and sew on the back bodice. I do this by folding the center back of the left bodice towards the inside and sewing the velcro on top of that fold. Then sew the other part of the velcro on top part of the right bodice.
 10.) Hem the dress to finish it. I chose to fold it at 1/4 inch seam because that’s the length I prefer but you can make it fold it higher if you want to make it shorter.
Now, let’s make the lace tank. It’s pretty easy.
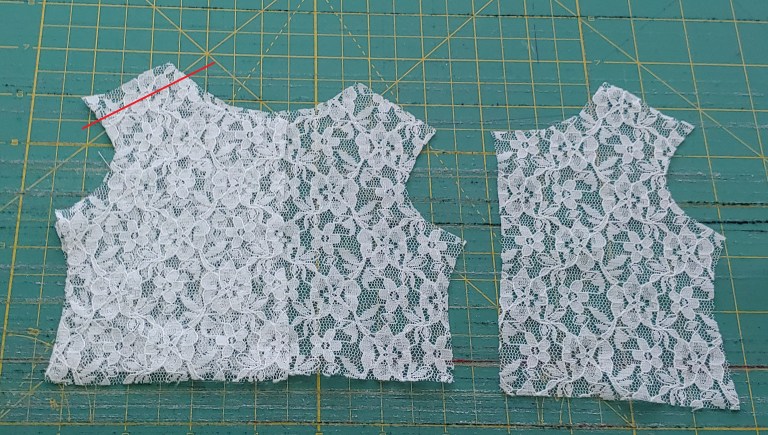
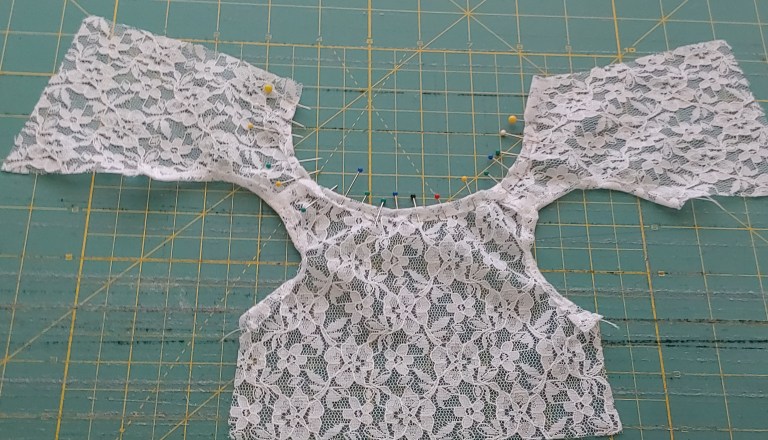
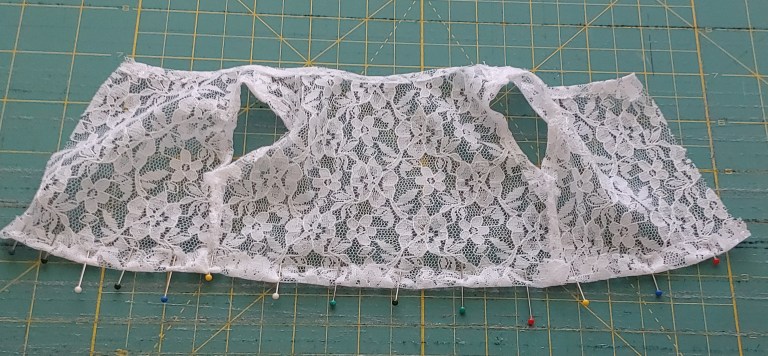
11). With right sides together, sew the pieces on the shoulder seams.

12) Fold the armhole and pin about 1/4 inch towards the wrong side and sew.
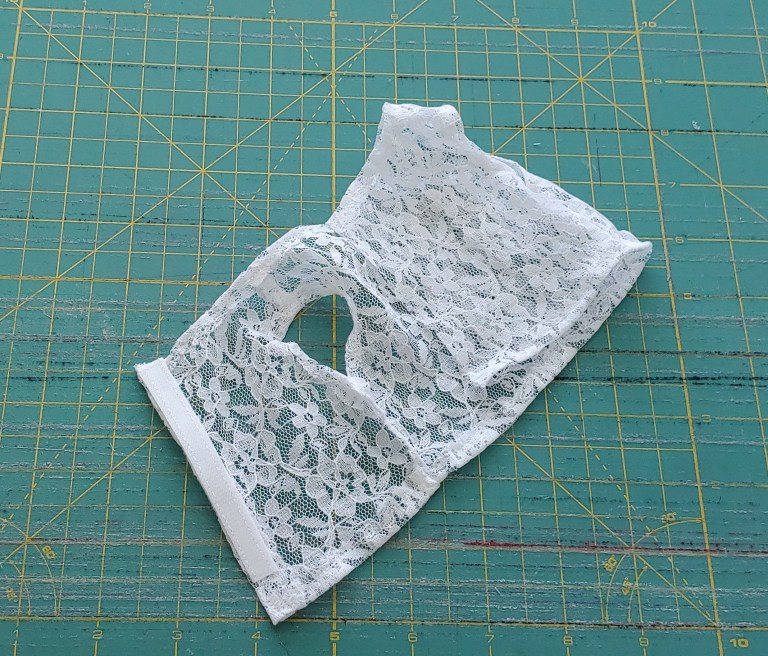
 13) Fold the neckline and pin about 1/4 inch towards the wrong side and sew.
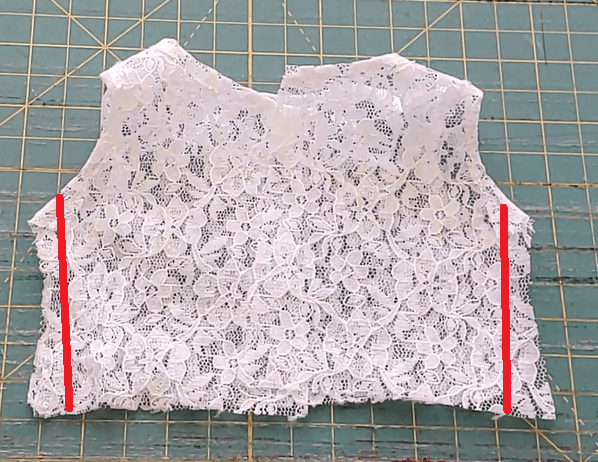 14) Sew the front and back bodices on the side seams. Serge or zigzag the seams for a cleaner look.
15) Fold, pin and sew to finish the hem of the lace tank.
16). Cut a 1 inch thick velcro in half and sew on the back bodice. I do this by folding the center back of the left bodice towards the inside and sewing the velcro on top of that fold. Then sew the other part of the velcro on top part of the right bodice.
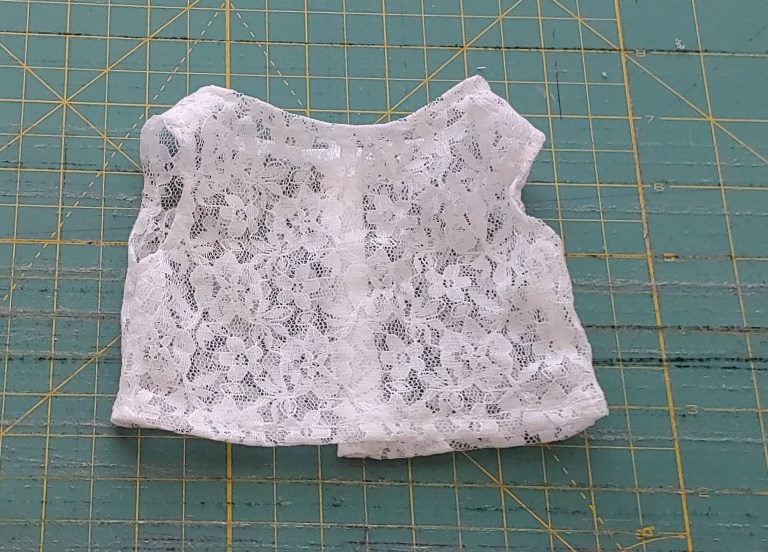
17) The lace tank is now finished.
For this project, my photographer is Jaimie of @rainbowdolldreams of Instagram. Full Credit goes to her for all these wonderful photos of the finished dress.